DIY Ornaments & Home for the Holidays pt.1
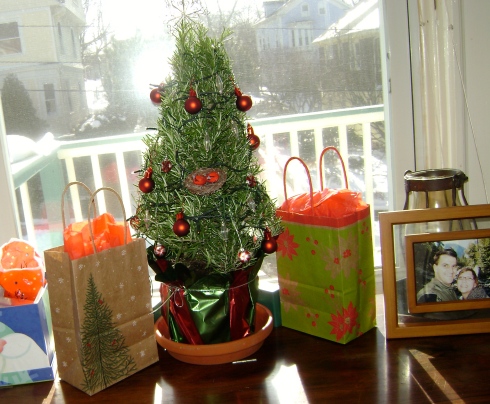
So this year is going to be quite different for RPK and I. Not only are we having turkey day alone together but we are doing the same for Christmas as well. Last T-day, I cooked for 6 people and the one before that, I cooked for just he and I. That was our first Thanksgiving together in our own home. We have also usually traveled to North Carolina for Christmas minus last year. Our trip was canceled at the last minute due to the pilots being scared to land in Providence (where we were) because the weather was so crazy. We ended up having an impromptu Christmas in our own place. This meant buying one of the last packages of tiny ornaments they had at Michael’s and placing beads on hooks as opposed to ornaments and using a rosemary bush as our tree. (How ’bout that pile of presents, ‘eh?)
Oh yeah. We totally used socks for our stockings too. They looked completely ridiculous.
Of course, it was a beautiful thing. But as I said, this year is different. This year we will have a tree. A real one. In our house. With decorations and real ornaments. And real stockings. In a city that we will live in for a very long time. However, you can’t just go out and buy all the ornaments you want right away.
(Or maybe you can. What do I know? You very well could be a millionaire.)
These are things that must be gifted and collected over time. But you don’t want your first tree looking naked or repetitive either so here are some ideas for making some of your own ornaments. They are inexpensive and since you made them, you can choose when and if they should get scrapped and replaced with a nicer one down the road.
This was also a really nice craft date for me and RPK. I’m going to really love seeing the ornaments, year after year, we made together for our last Christmas alone, before we have this wee one.
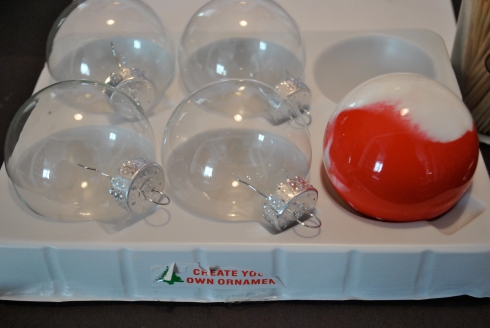
Here are some ideas for those super neat blank and plain ornaments. You can find them at all the craft stores now a days. They come in 4 or five different sizes. They don’t come with ideas on how to make them pretty though and staring at all those DIY glass balls can get kind of intimidating. You can also totally do this with your kids. I think it’s nice to let them make “real” ornaments instead of just things made out of popsicle sticks. If you are uncomfortable with glass, they are also selling ornaments exactly like these but plastic. No one will ever know the difference.
For marbled ornaments:
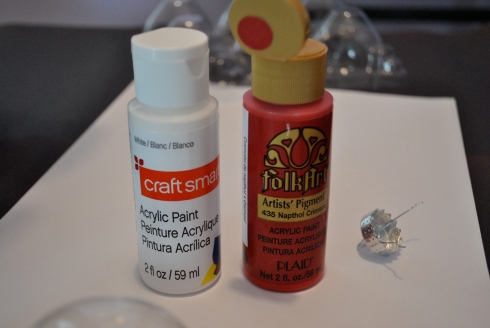
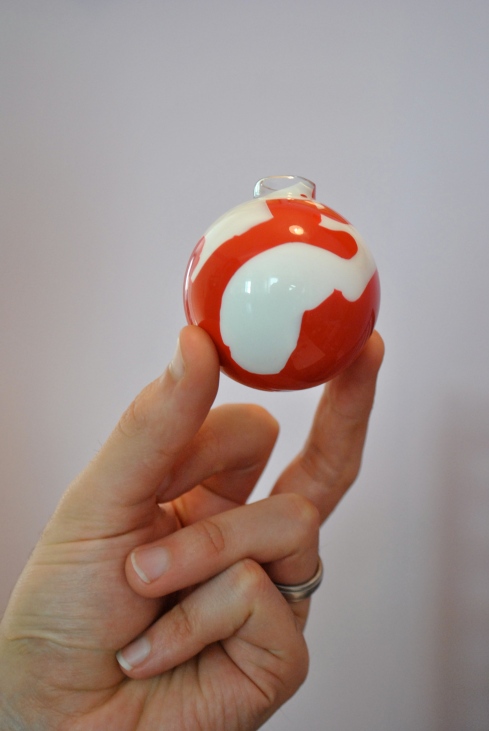
and get some of this. It doesn't have to be this brand. Just any old cheap acrylic paint will do. It MUST be acrylic though. These were 2 for a dollar. I bought 4. I chose red and white but obviously there are many more options. Some metallics might be pretty too!
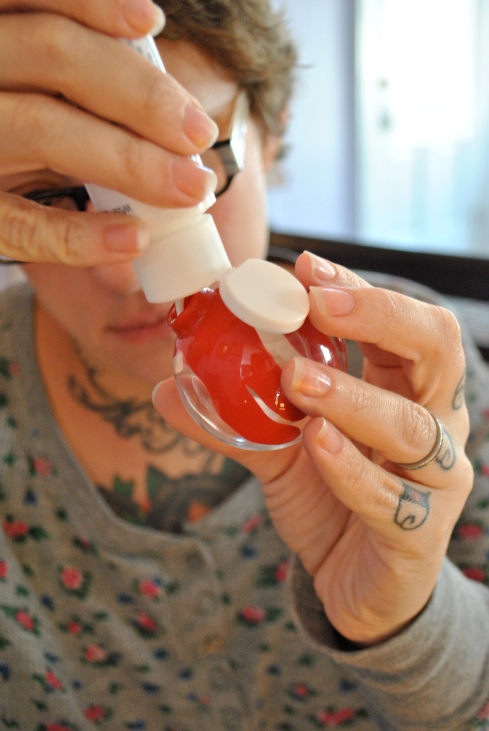
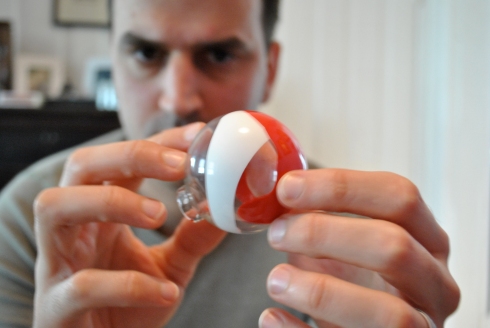
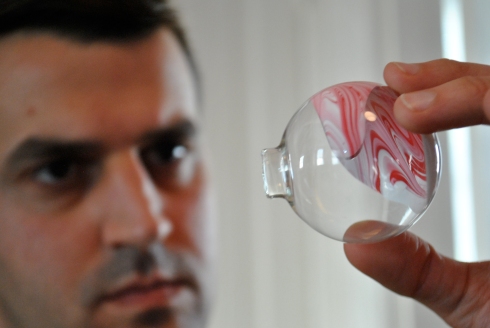
Squeeze some of your paint into the ornament. There's not really a right or wrong way. You can pool the colors on top of each other at the bottom or pour it onto the sides. Remember, it would take a LOT of agitation to actually mix your colors into pink so don't be afraid!
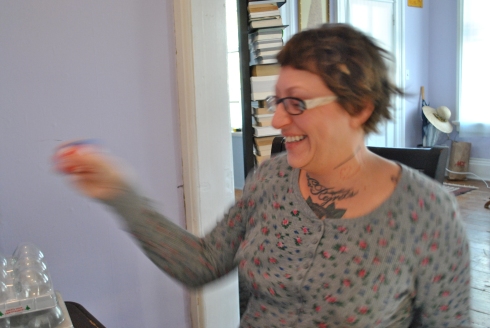
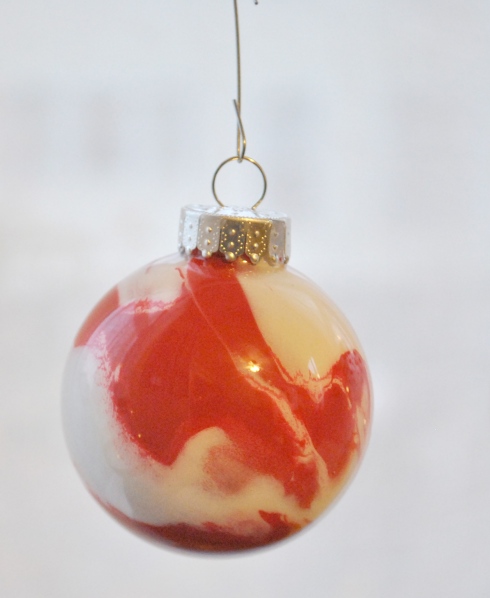
Shake vigorously! The more you shake, the more marbled it will get. If you shake waaaaay too much, it will just mix and turn pink.
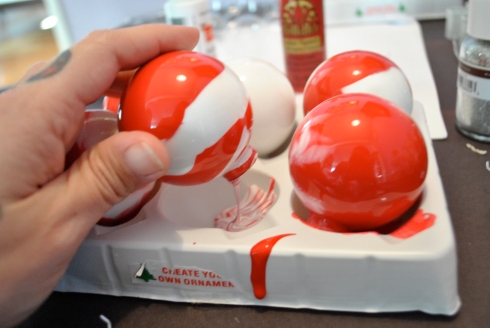
(Oops, I forgot to mention an old egg carton is good to have around. I accidentally threw mine out.) When you've achieved the desired look, turn upside down and pour the super excess paint out. Then sit them upright on a clean surface. Since I forgot my egg carton, we used the clear plastic top to rest them in after dumping the paint.
Get creative! RPK used a toothpick to swirl his paint around and got a beautiful super marbled look:
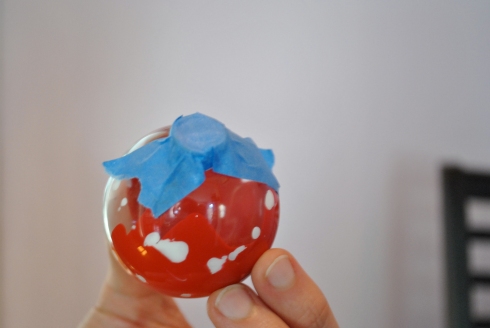
O.K. The hard part is letting them dry. They will take a week, sometimes even two or three, depending on how much paint is still in them. Leave the caps off and just let them sit upright for that time. After a week, stick a toothpick into the bottom of one to see if it’s totally dry or not. This will be the thickest part of the paint accumulation and when that’s dry, you can put the tops on.


Joyce replied:
WOW i LOVE THEM YOU ARE SO CLEVER, YOU ARE GOING TO HAVE A VERY PRETTY TREE.
November 14, 2010 at 10:12 PM. Permalink.
Modern Ma'am replied:
Thanks Joyce! I’m really looking forward to it!
November 14, 2010 at 10:43 PM. Permalink.
giddy replied:
Are those Christmas colors, or Badger colors? 😉 Love them; you are very clever!
November 15, 2010 at 12:12 AM. Permalink.
Modern Ma'am replied:
Hah! I suppose they are both!
November 15, 2010 at 9:26 AM. Permalink.
barncat1 replied:
Very cool! Love how your hubby got into crafting with you too. These remind me of something we used to do at Bible school years ago. You squirt a little paint in a bucket of water, then swirl a glass jar around in it. Hard to explain, but trust me it works!
November 15, 2010 at 9:34 AM. Permalink.
Modern Ma'am replied:
Yeah. He’s a really great sport and I think he actually enjoys it. We have fun together no matter what we’re doing, really. 🙂
The water technique sounds cool! I wonder if it was oil paint….Hmmm…Now I’m going to have to go search!
November 15, 2010 at 9:38 AM. Permalink.
bookwormbethie replied:
*this* is awesome. i’ll have to see if we can do this before xmas time, but if not, definitely a project for next year. this would be soooooooooooooooooooo much fun to do with kids!
November 16, 2010 at 4:28 PM. Permalink.
Denise replied:
I have been doing these for the last 2 christmases, everytime they get better and better. it just takes time.. but they are so worth the time. everyone love them and wants me to make them some
November 12, 2012 at 11:53 AM. Permalink.
W. Kent replied:
Oh I am so happy to hear that! We still have ours from a few years ago and they still look great!
November 12, 2012 at 3:08 PM. Permalink.